


This step brings you more tangible results since it is the fastest and easiest way of prototyping. Paper sketches are often underestimated, compared to the many digital design tools on the market today.
A paper prototype is an excellent way to make sure every flow makes sense and that every step is covered with no gaps in the user journey. The goal is to gather feedback from the team, not from end-users, as they may have a problem with understanding the prototype and interactions at such an early stage. We want to confront the prototype with stakeholders and other decision-makers as soon as possible so that we don’t spend time on failed ideas in the next steps of our work.
Make sure to include all critical interactions in the prototype so stakeholders can easily understand the flow. Don’t pay too much attention to aesthetics at this stage – the most important things here are your general ideas and assumptions.
Step by step guide
Look at the flow from a previous method (User FLow)
The paper prototype will be based on insights and ideas gathered from previous user research steps. We want to visualize the flow that was described in the User Journey exercise.
Get a pencil and some sheets of paper
These are handy tools that let you make changes quickly.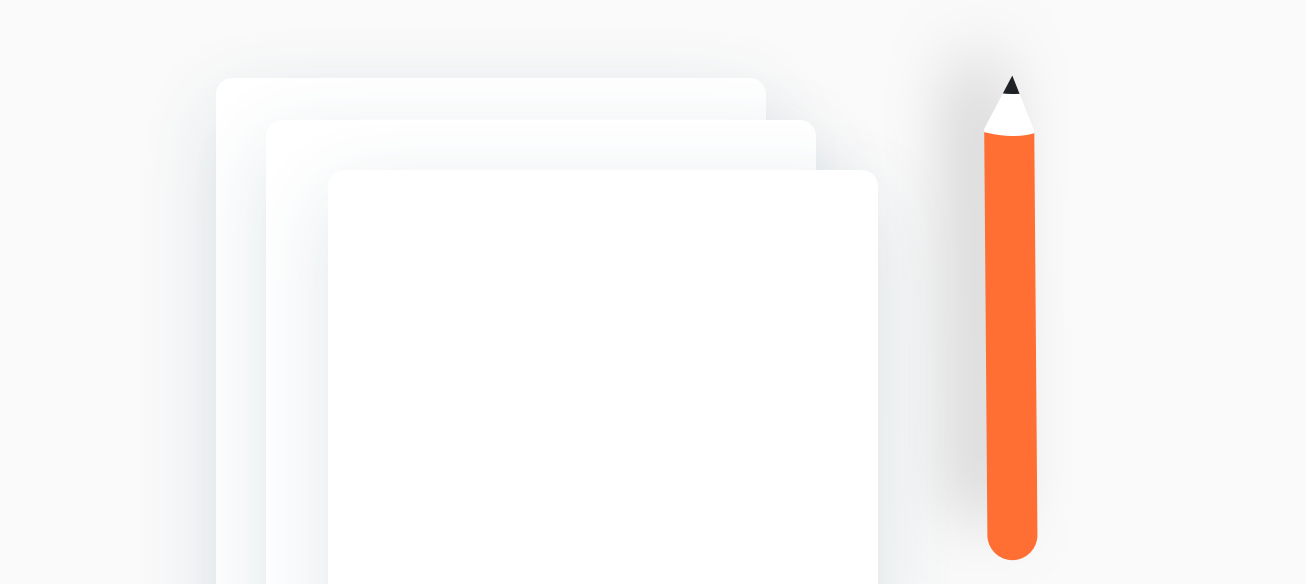
Draw the device contour
It can be just a rectangle, a whole sheet of paper, or even a drawing of your phone in a 1:1 ratio. You can also print ready-to-use phone mockups that are available online.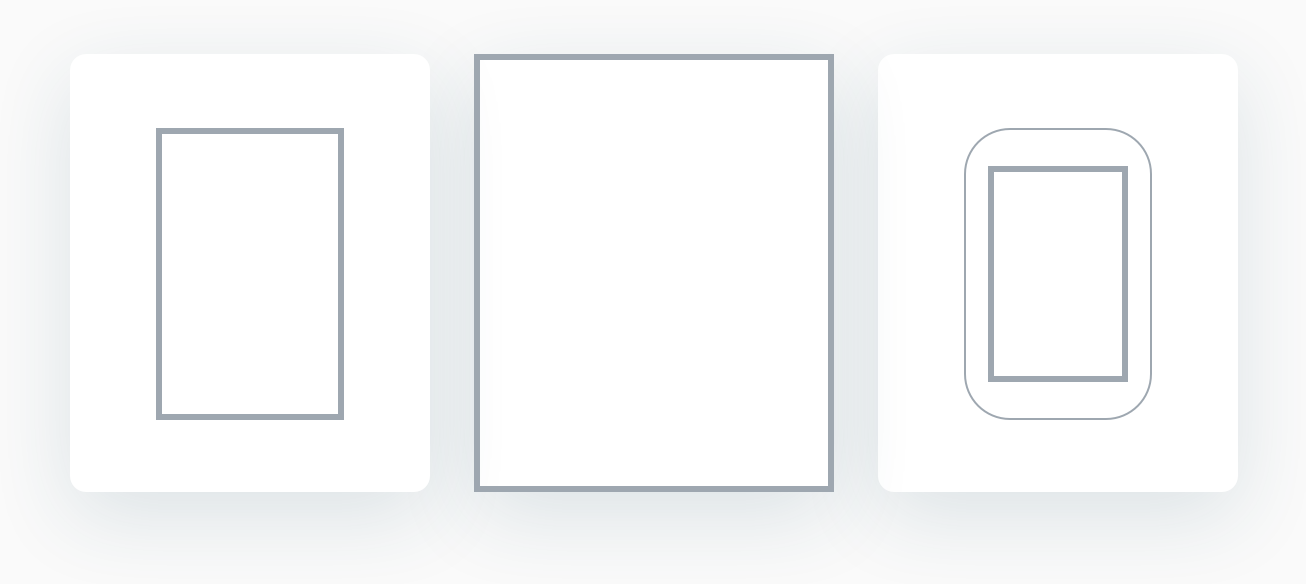
Start with the first step of the User Flow
For example, if the User Flow starts with the user finding the advertisement of a product on TechCrunch, you can sketch a blogpost on the screen.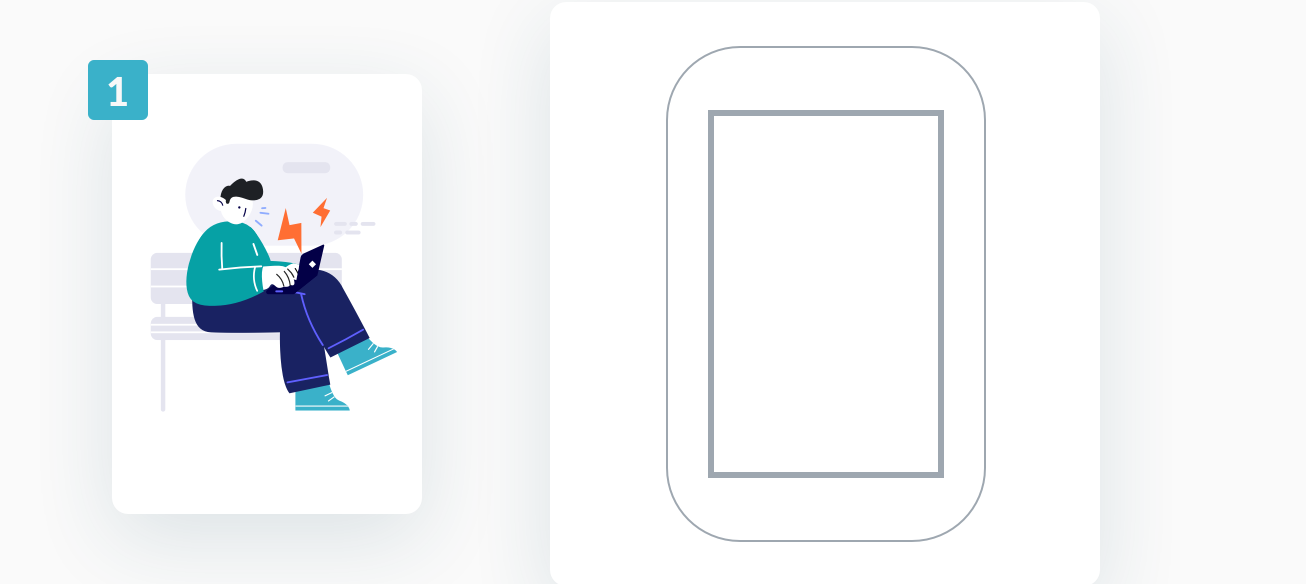
Add the rest of the screens
Follow the process until you complete the whole User Journey. You should aim to have at least one screen to each step from the flow. Some actions may be more complex. They’ll require additional filters to make the entire flow login intact. Continue until you complete the whole User Journey.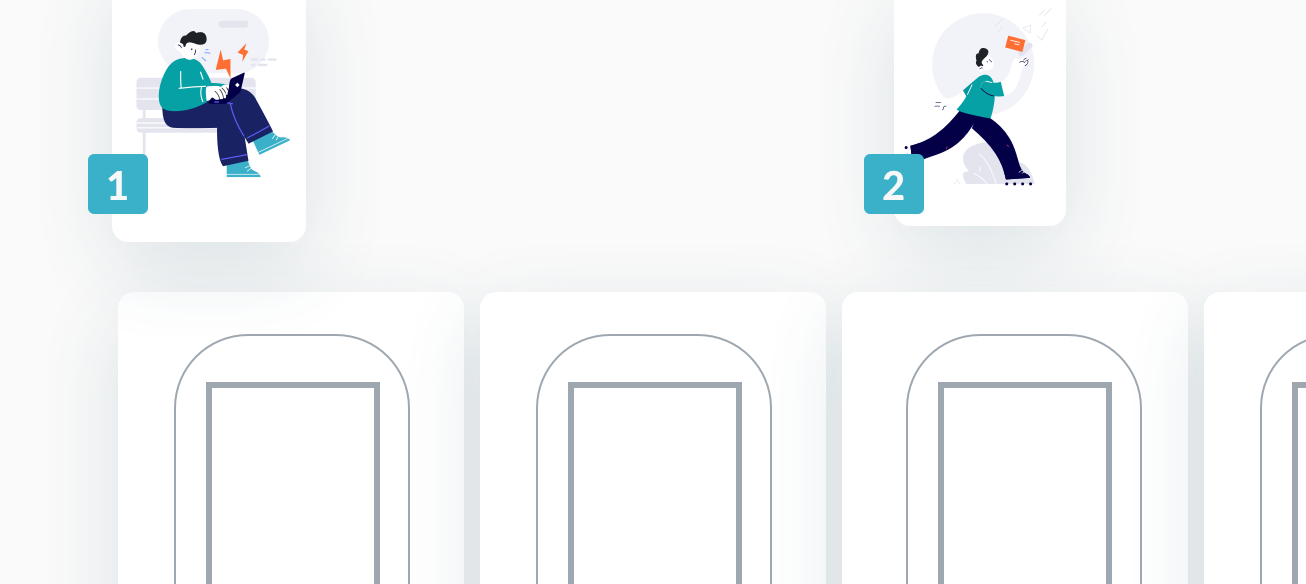
Show the prototype to at least three stakeholders or decision-makers
If there’s less than 3, you can show it to someone from your team or someone from another department. It’s best to do it in person, but if it’s not possible, you can take photos and use screen-sharing to explain each screen on a video call. When presenting the prototype, start by explaining that it is the most basic visual representation of the flow, which only serves internal testing purposes.
Let them tell you what they like about the flow and if anything needs to be improved. Ask if any parts of the flow should be added to the prototype – this helps you make sure that the idea is consistent with the stakeholder’s expertise.
Document all feedback
It will help you create an improved and more advanced version of the prototype in the next step of the process.
Advantages
Lets you quickly validate ideas
Paper prototyping is the fastest way to get users through the flow. It uncovers gaps or misconceptions in the user journey. It also makes the iteration process faster since it is way simpler than an interactive prototype.
Eliminates critical issues in the early stage of the process
Thanks to the agile, iterative approach, we can quickly eliminate the most common mistakes. With no visual layer added at this point, we can focus on usability process first.
Builds a foundation for the next step
Paper prototypes serve as a base to creating more complex, interactive prototypes. The most critical issues can be discovered during this stage and will save you a lot of time later on.Tips
Keep it simple
A paper prototype is meant to be simple and easy to create. It should take you around an hour to prepare a whole flow. Focus on the most basic information architecture possible and limit copy to an absolute minimum.Highlight the CTA
Elements that enable users to move to the next screen should be highlighted. With such a raw prototype, it’s easy to get lost in the navigation.Prototype only whats important
Do not add screens that are not crucial for the particular flow. This step is all about testing only one specific user journey.
Conclusion
Paper Prototype is easy and fun way to validate your ideas. It’ll unveil a lot of diffrent flaws in your user journey and help you define what do you need to prototype in hi-fi;interactive prototype. Thanks to that you’ll save ton of a time in next step.