


An interactive prototype may bring you more quality feedback than any other research method. There’s no better way to test a solution than interacting with it. This is the last method in Talebook and the outcome of all our previous exercises.
Prototypes are a great tool for presenting the concept of a solution, both for clients and internally when pitching your ideas to the development team or other departments. IDEO’s “Boyle’s Law”(named after one of IDEO’s workers, Dennis Boyle) is a simple rule that summarises it perfectly – “never go to a meeting without a prototype. In terms of its communicative and persuasive abilities, this presentational aid often makes the difference between a yes or a no.”
In this exercise, we want to create a mid-fidelity prototype by presenting the final product’s value and features, but without focusing too much on the visual side. It’s important to balance the reliability of the prototype that makes users feel like they’re interacting with a product, with the raw, visually limited UI. Too detailed, high-fidelity prototypes may result in “investment bias”, or “endowment effect,” which both refer to a situation where the product team becomes too attached to the prototype and perceive it as too valuable to give up on (no matter the results of the usability tests).
Step by step guide
Based on the paper prototype, start moving the elements onto a digital prototyping tool
Choose any tool that you are comfortable working with – it can be a graphic design tool, such as Sketch or Figma, or a more common one like Keynote or Powerpoint. You will find the list of our personal favorite tools at the end of this post. For the purpose of this tutorial, we have chosen Figma because it’s free and perfect for collaboration with multiple team members.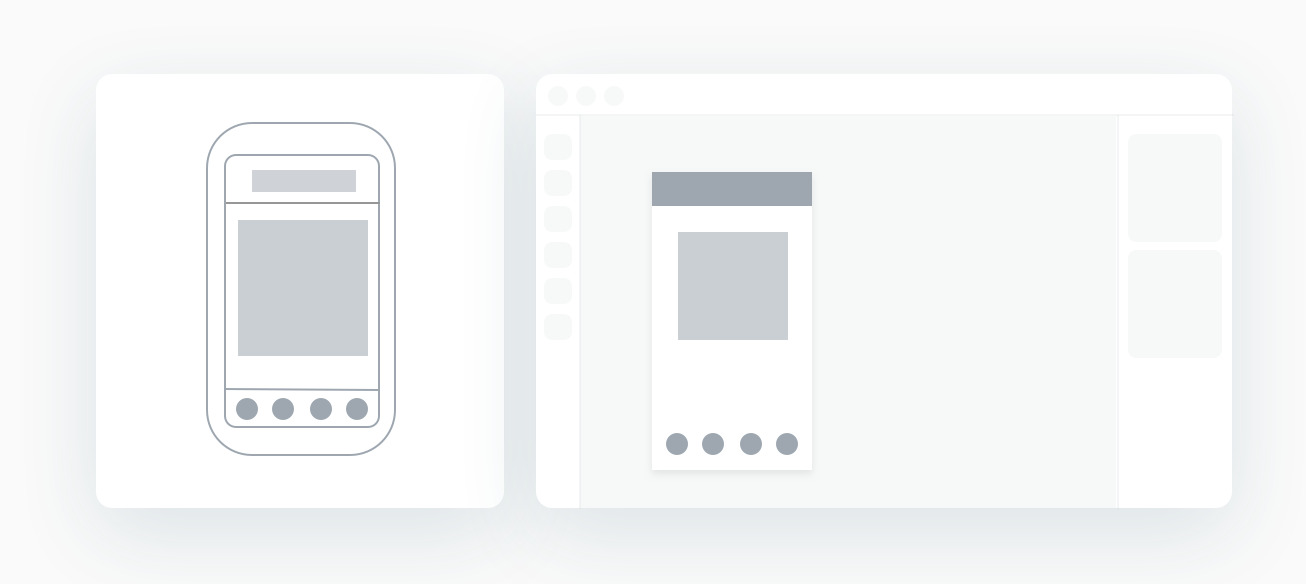
Add text to each screen
An interactive prototype doesn’t have to (and shouldn’t) be visually perfect, but you’ll need to make sure all the copy is polished. Text is one of the most important parts of the UI, so pay close attention to it when creating the prototype. Use only texts that make sense. A common mistake is using placeholder texts like “Lorem Ipsum”. This doesn’t bring value to the prototyping phase and can distort your findings.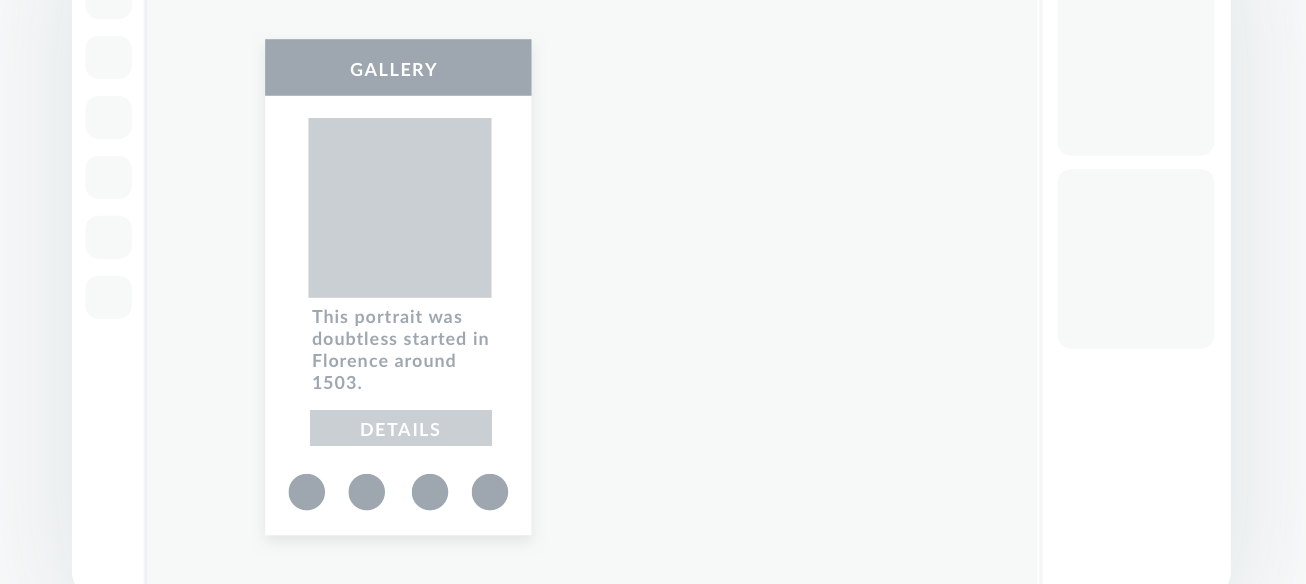
Mark interactive elements
Interactive elements will lead the user through the whole app flow. Make sure they are well displayed and can be easily distinguished from other elements. You may use colors to indicate interactive elements (it’s best to stick with one color though, to ensure consistency).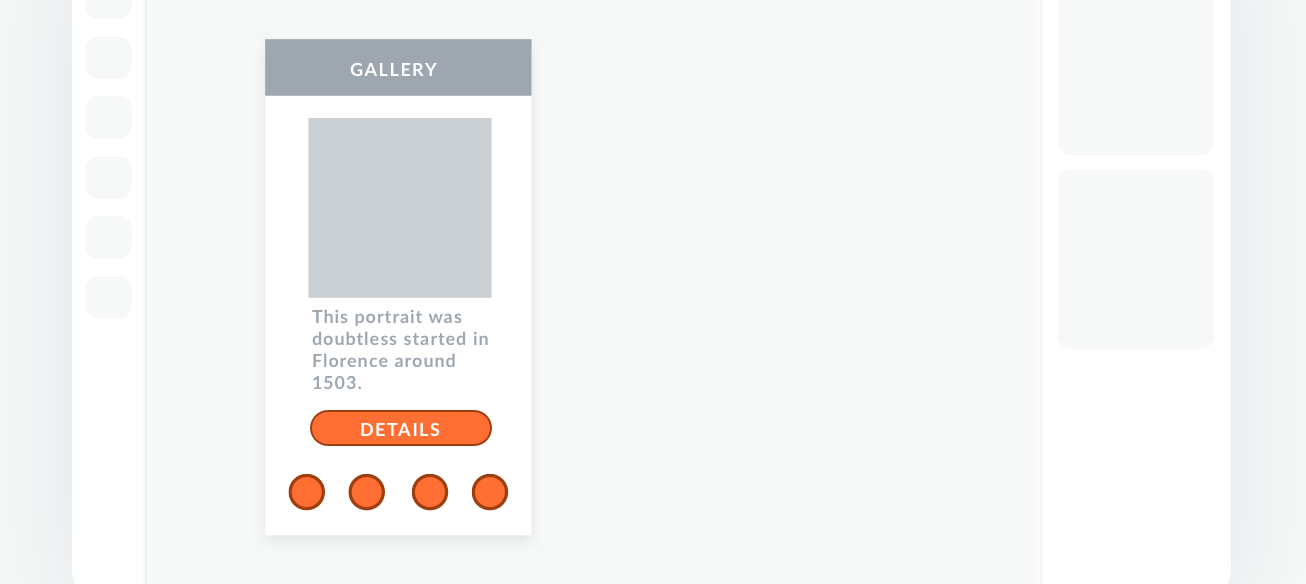
Create all screens
Repeat the process for each screen to create a complete flow. Make sure you have all the screens needed for the whole path created in the Flow Method. You may notice one or two screens missing at this point – don’t worry about that; it’s quite common to skip something along the way. The more detailed the prototype, the more gaps show up in the flow.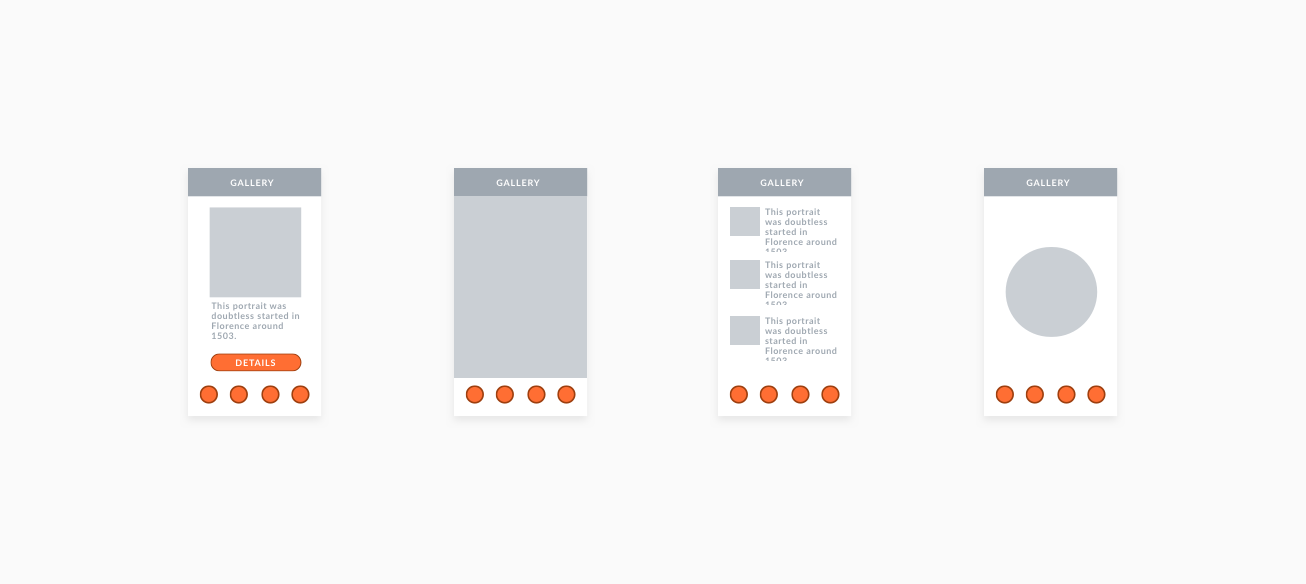
Connect the screens
The number of tools for setting up interactive prototypes can be overwhelming, so we’ll stick to Figma in this tutorial. All you need to do is go to Prototype and choose the elements you want to transform into the link to the next screen.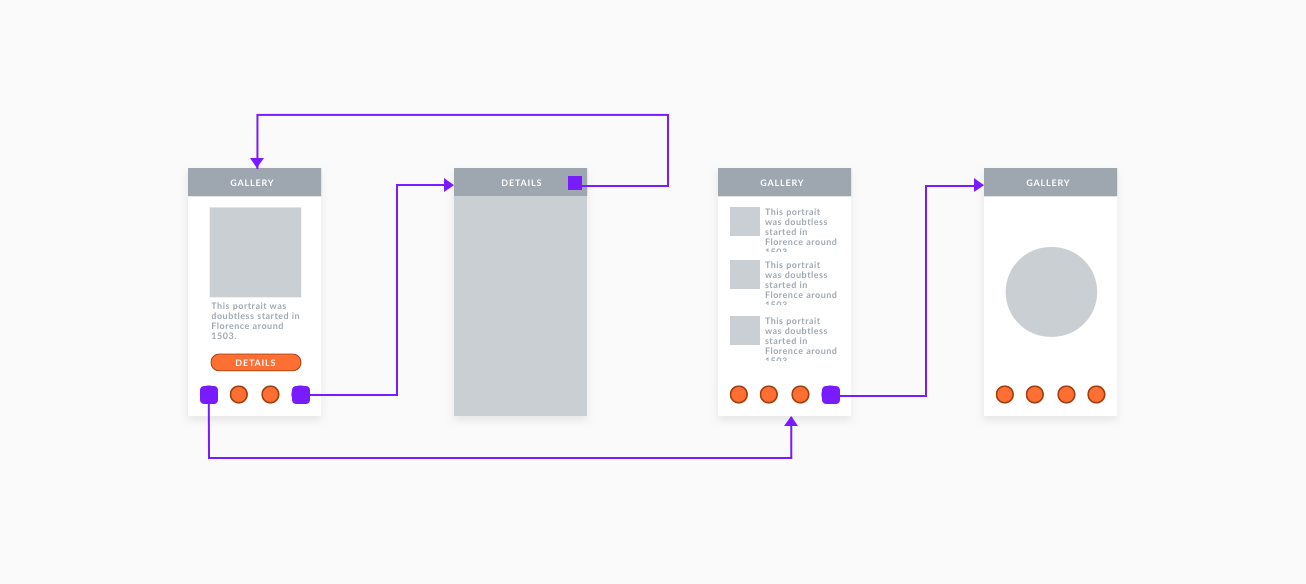
Here are some guides you can check out if you want to use a different tool:
– Figma – link
– Sketch – link
– PowerPoint – link
– Keynote – link
Advantages
Lets you test the idea with target users
By testing the prototype with your target users, you can gather valuable feedback and make changes before moving to the development phase
Back the idea
Interactive prototype is your strongest weapon in selling the idea. It’s easier to get the buy-in when you can showcase how the product will look like and the value it will provide.
Acts as a reference tool for developers
The prototype is a clear, visual demonstration of how the product or specific features should work, which greatly improves and speeds-up communication between design and development teams.
Builds alignment on the common vision between the design team and the client
A prototype allows the client to understand how the product will work and how users will interact with it. This provides more insight on certain design decisions, which will have a positive impact on the buy-in process and overall collaboration.Tips
Prototype with a clear purpose
A prototype should be created with an intent to answer specific questions. What the product is trying to do? What problem is it trying to solve? What would you like to know from end-users? By asking yourself these specific questions, you can design the right prototype.Recycle
Prototyping is a relatively quick process but it still takes time. Make sure to keep what you created and feel free to re-use ready components in further work.Don’t get too attached to your prototype
To avoid investment bias, keep in mind the purpose of creating the prototype and remember it’s made to be disposable. Don’t spend too much time overthinking the details and do not get emotionally invested.
Conclusion
Interactive Prototype is a great way to summarize your findings and bring research to live. It’s also the best way to sell your finding to stakeholders. Saying that, keep in mind first prototype is likely to change. Keep flexible and open to feedback. Each interaction keeps you closer to user needs.